Want to include custom fonts in WordPress? Custom font styles enable you to utilize a stunning mix of different fonts on your website to enhance typography and user experience.
Apart from looking great, customized font styles can assist your website with enhance readability, creating a brand image, and boosts the time users invest on your website.
Note: Loading a lot of fonts can impact your website’s speed. We advise picking two fonts and utilize them throughout your website.
First, let’s have a look at discovering free fonts that you can use on your WordPress website.
How to Find Free, Custom Fonts to Use in WordPress
Fonts used to be pricey, however not any more. There are lots of places to discover excellent free web fonts such as Google Fonts, Adobe Typekit, FontSquirrel, and fonts.com. For this article, we’ll focus on two resources, Google Fonts and Adobe Typekit.
If you need help pairing fonts, or if you’re not sure how to pair fonts, Google Fonts has you covered. The Google Fonts website will help you pair font styles and find the perfect combination for your WordPress website.
As you choose your typefaces, remember that using a lot of font styles will slow down your website. Consider using only two typefaces then utilize them throughout your WordPress website design. This will also bring unified look and feel to your style.
Adding Custom Fonts Using the Easy Google Fonts Plugin
This approach is without a doubt the most convenient for WordPress newbies, if you wish to include Google Fonts on your website.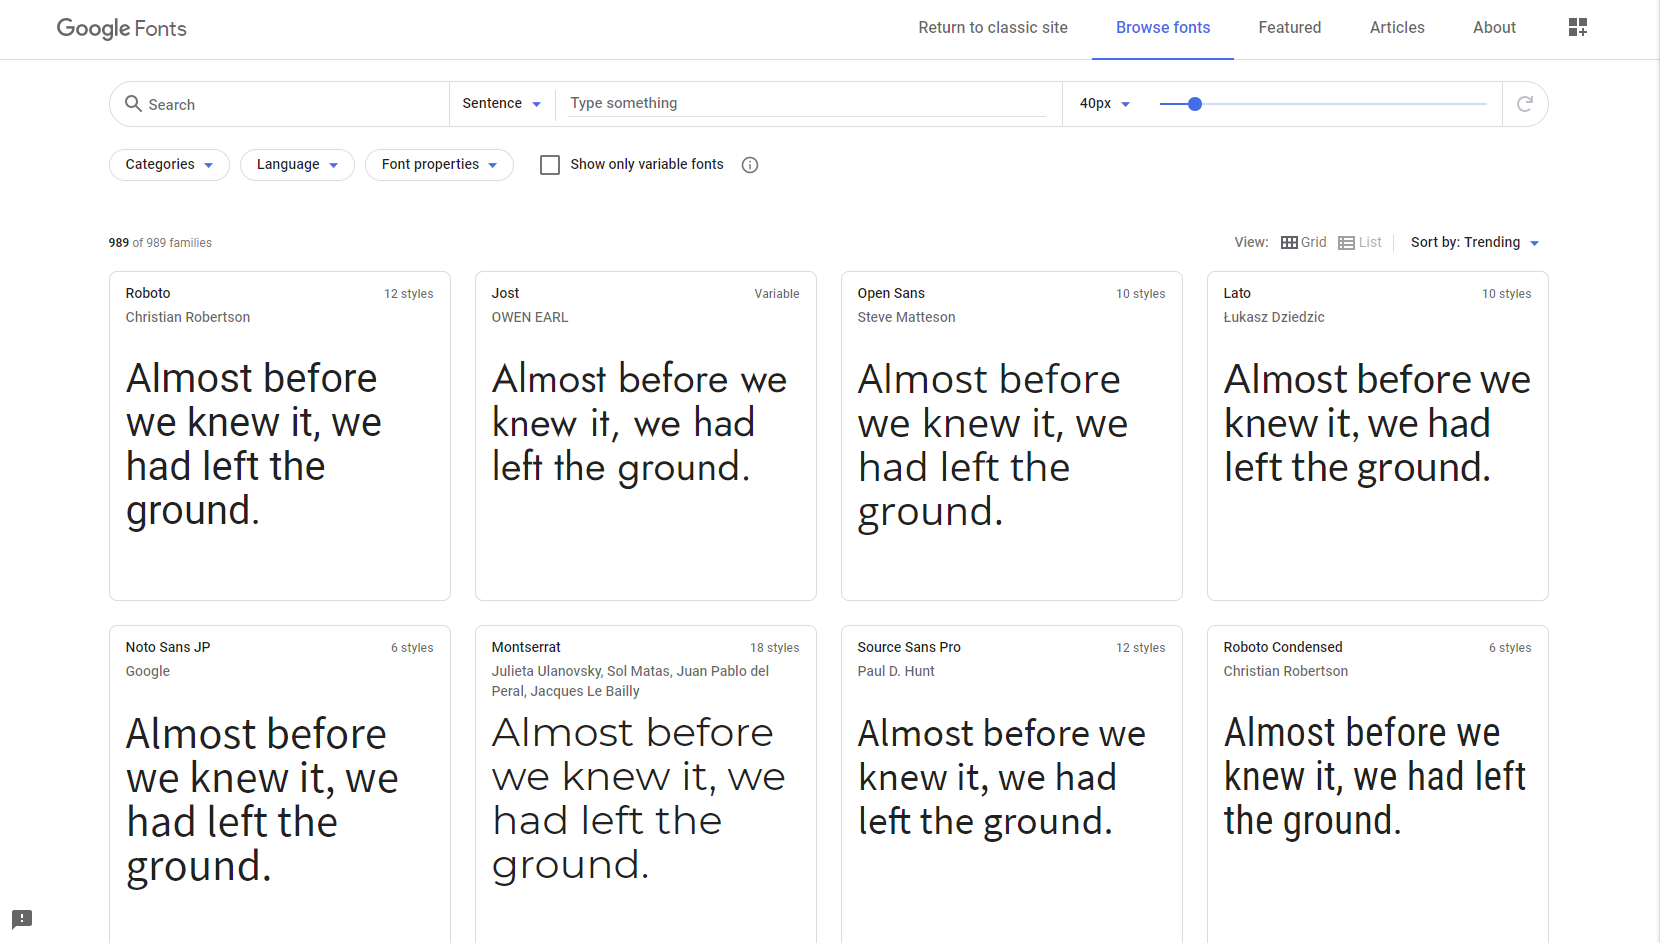 First you’ll need to install and activate the Easy Google Fonts plugin. (We’ll assume you know how to download and activate a WordPress plugin.)
Once activated, go to Appearance > Customizer. This will open the live style customizer user interface where you’ll see the brand-new Typography section. Clicking on Typography will reveal various sections of your website where you can use Google Fonts. Now click ‘Edit Font’ listed below the section you want to modify. Under the font family section, you can choose any Google Font you desire to utilize on your website. You’ll also be able to modify the typeface size, padding, margin, and more while in the ‘Edit Font’ section.
Depending on your theme, the variety of sections here might be restricted and you may not have the ability to directly change font selection for several locations of your website. While this plugin provided options to work around this, it is a little out of scope for this article.
Adding Custom Fonts in WordPress Using Adobe Typekit
Typekit by Adobe Fonts is another free and superior resource for awesome font styles that you can use in your style tasks. They have actually a paid subscription along with a limited complimentary plan that you can use.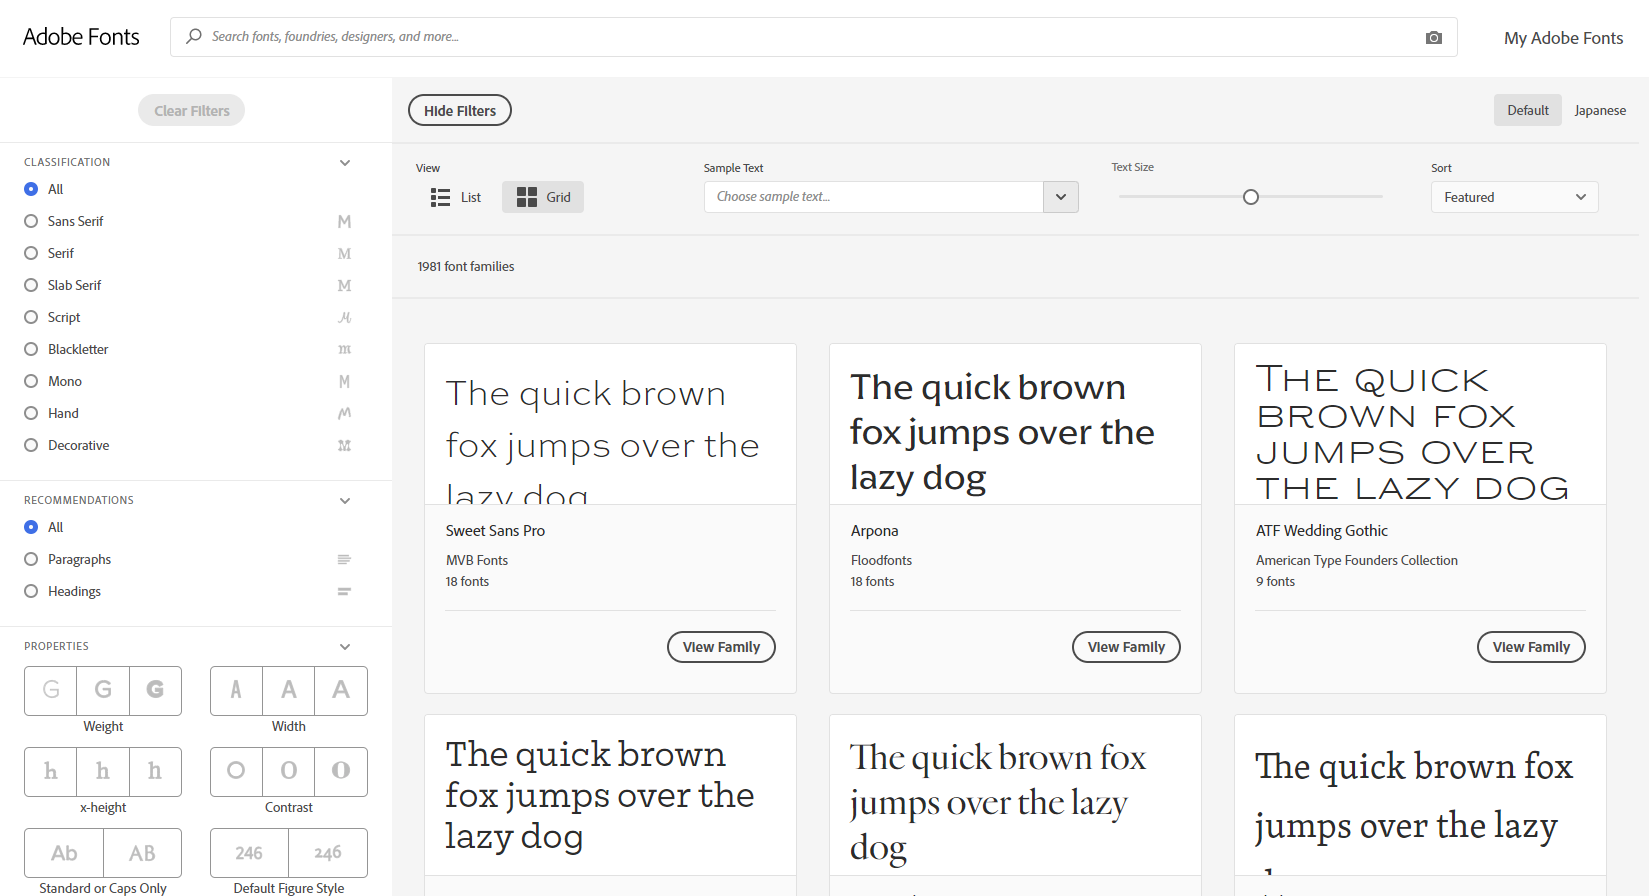
Signup for an Adobe Fonts account and visit the browse typefaces area. From here you need to click the embed code button (it looks like this: </> ) to pick a typeface and develop a project.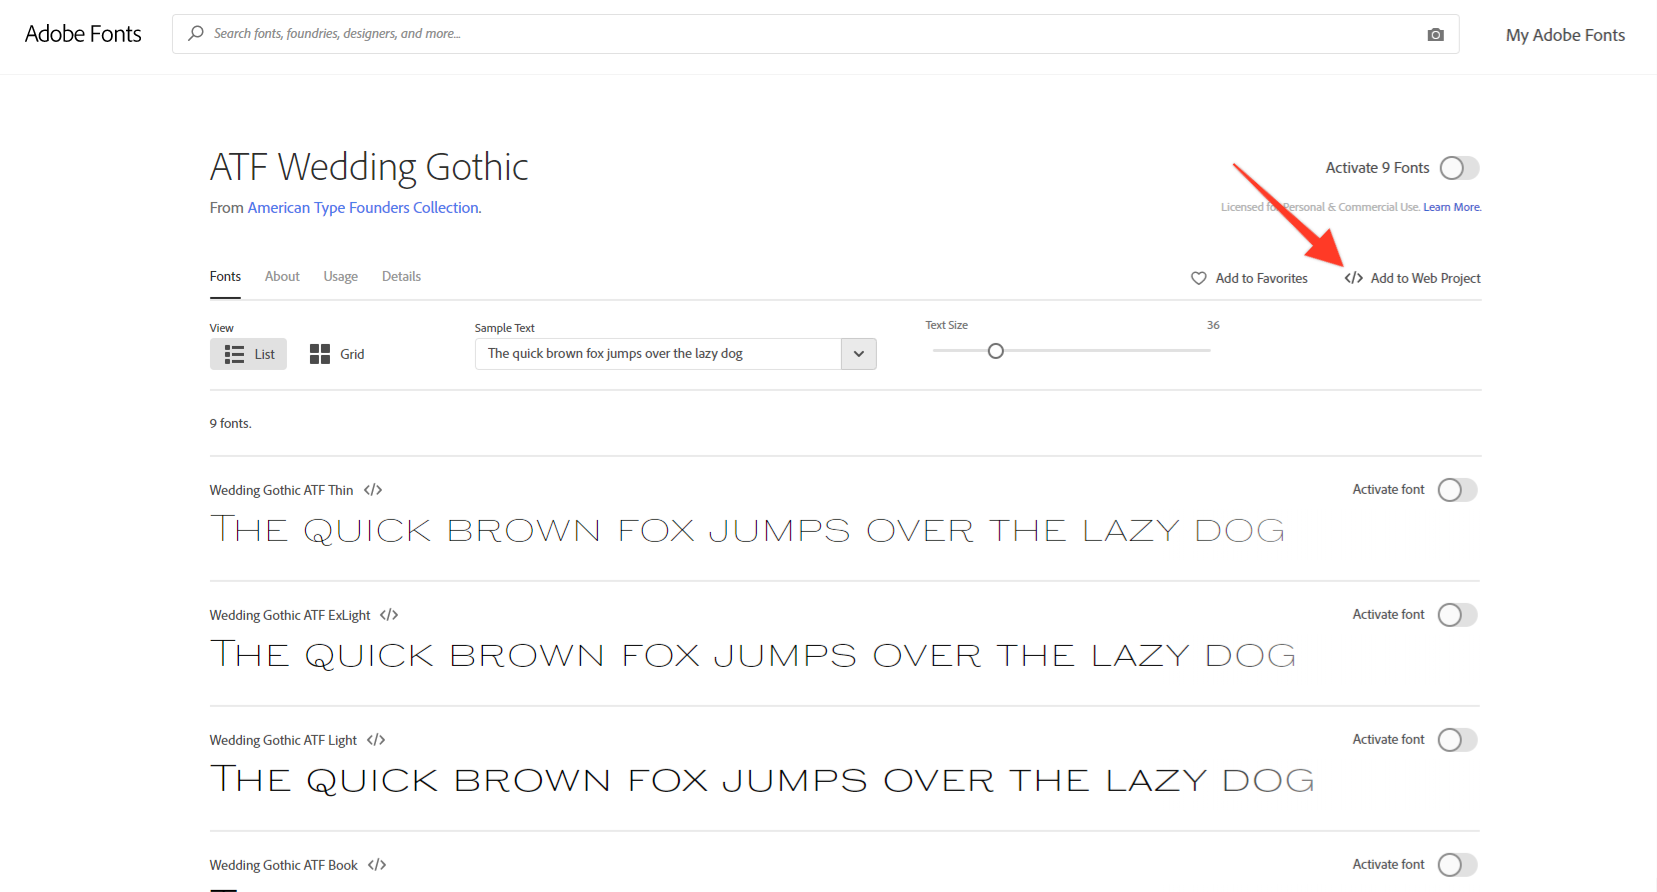
Next, you’ll see the embed code with your project ID. It will also show you how to use the typeface in your theme’s CSS. 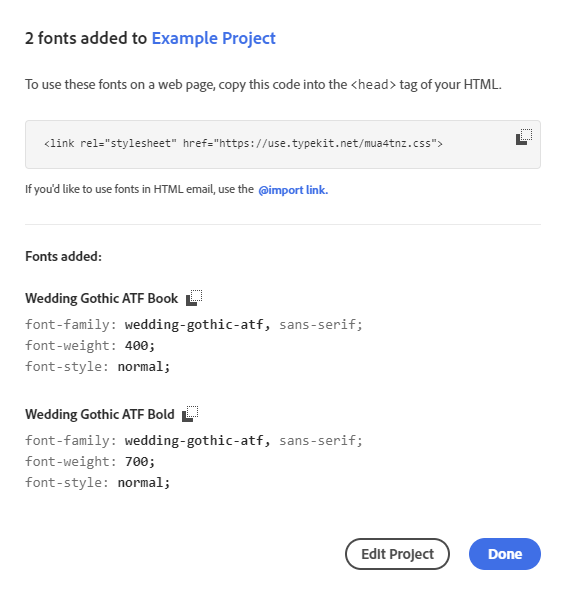
To use the fonts you’ll be required to paste the embed code inside the <head> area of your website. Don’t worry! We have an plug-in that will make easy work of adding the embed code into the <head> of your website.
You’ll need to download and activate the Insert Headers and Footers plugin.
Once activated, go to Settings > Insert Headers and Footers then paste the embed code in the ‘Scripts in header’ box.
That’s it! Now you can use the Adobe Typekit font you picked in your WordPress customizer’s additional CSS section like this:
That’s all, we hope this post helped you include customized fonts in WordPress.